

A web API is a web application in which information is requested or sent and acts as a "server" constantly waiting to receive these requests from a "client". In this case, a web API is only waiting to receive requests. Let's say that it never "takes the initiative" to communicate with another application.
What is a webhook?
A webhook is a mechanism for making a web application communicate with other web applications by sending them information when certain events occur. Webhooks are sometimes also called "reverse APIs" because they do not wait for other applications to initiate communication by making requests, but rather they initiate communication by sending information to other applications. Webhooks are an efficient lightweight way to enable real-time notifications and data updates between applications.
Some examples of use cases for webhooks are:
- Sync customer data in other applications like CRMs.
- Notifying the courier company to collect a product after it has been purchased in an online store.
- Sending some kind of data to external data analysis services.
How to implement a webhook using NestJS?
Let's see how to implement a webhook on top of a web API using one of the most popular Node.js frameworks: NestJS.
How to implement a webhook using NestJS?
- Let's start by globally installing the NestJs CLI tool to initialize and set up NestJS applications.
- Create a new project with the following command:
- This codebase creates a simple web API that exposes a single endpoint at the root address (localhost:3000/). Let's say we want to notify a shipping application to ask them to pick up the product. For that, we will create the endpoint to create an order. We will modify the following files:
- Webhooks are usually implemented using HTTP. So to make the request to notify the shipping application from our Web API, we'll need the NestJs HTTPModule.
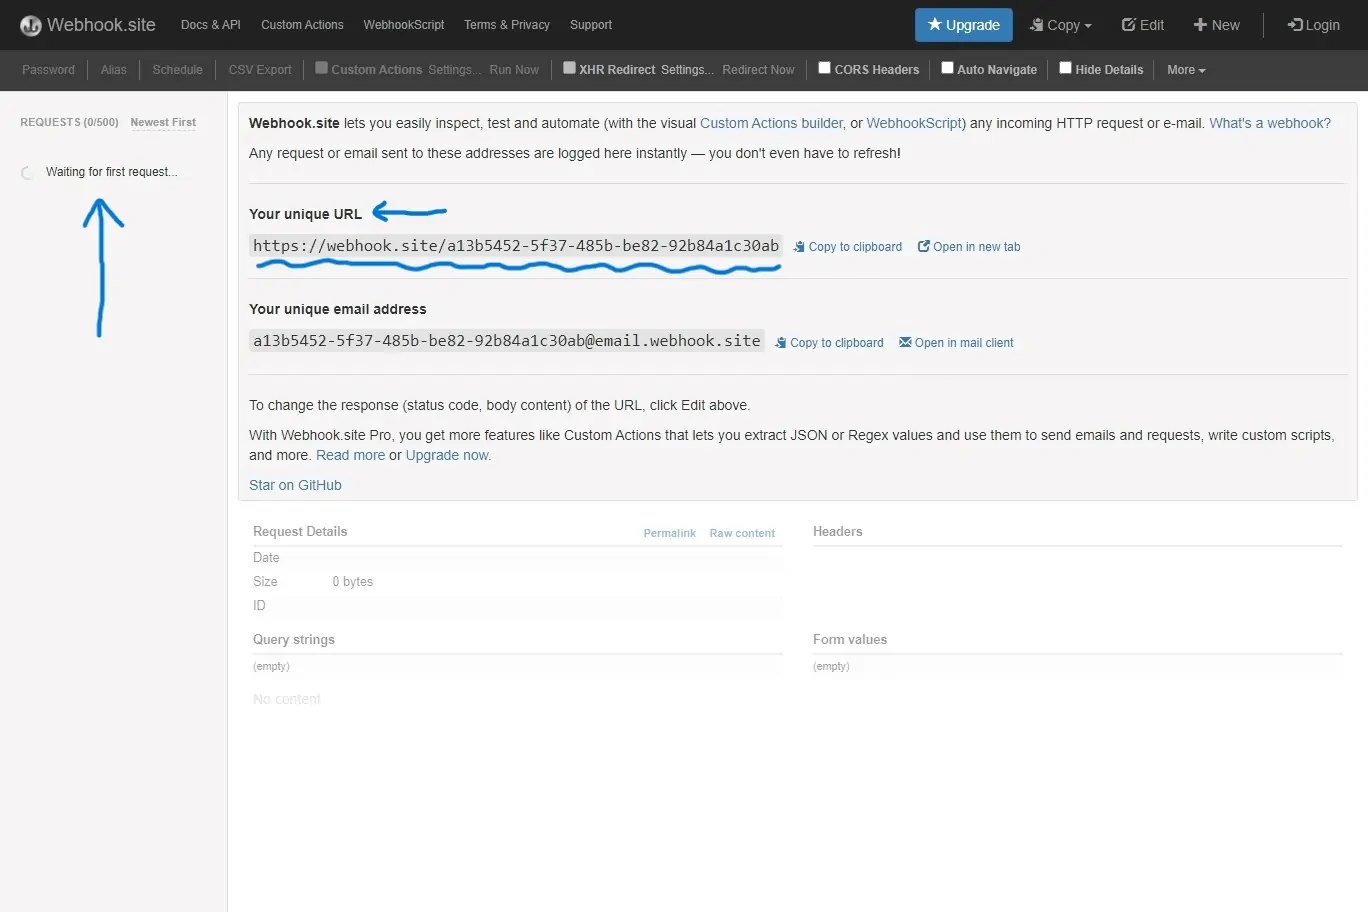
- Now, we will trigger the notification to the other application to notify it of the newly created order. We will do it right after calling the service that creates the order. But before that, the other applications must provide us with an endpoint to which we will make the request. We will make use of the following online tool for testing webhooks: https://webhook.site/. So this site will play the role of the other app. Just go to that address and copy the URL shown where it says, "Your unique URL." That's the one we'll use. Do not close the browser tab in order to verify if the webhook is working correctly!
- Now, let’s run the application:
- Finally, let's test that the webhook is called correctly when creating a new order. You can use a tool like Postman to make the request to our "localhost:3000/order" endpoint. We'll send it whatever data we want, we just want to test the webhook flow.
- We verify this in the browser tab where we have webhook.site open, and you should see that a request was received with the data that we sent to our webhook.
Assuming the webhook.site was the delivery app, you've already been notified to pick up our product at the address we sent you.

Done, we have implemented a basic webhook. As you noticed, using a webhook is very simple, just a matter of making an HTTP call from one application to another. In a more complete application, you will have to consider the extreme cases in which the request fails, such as: making retries, marking the synchronization status with the webhook in the database, and other aspects.